A new fence can change how you use your yard, whether you want more privacy, a defined boundary, or a better space for pets. Before work begins, it helps to understand what happens between the first estimate and the finished installation.
Residential fence installation generally includes an on-site estimate, project planning, utility coordination, site preparation, post and fence installation, gate fitting, and a final walkthrough. The exact sequence and schedule depend on the material, layout, and conditions of the space.
Whether you’re replacing a backyard fence in La Mesa or planning a new enclosure in Poway, the details of your property will shape the work.
Step 1. Discuss your goals during the on-site estimate
An on-site estimate gives you and your contractor a chance to review the fence location, take measurements, and discuss how the finished fence should function. Explain what matters most to you: privacy from a neighboring yard, a secure gate, space for a dog, or easier access for outdoor equipment.
Gate planning deserves attention early. Consider where people enter the yard, which direction the gate should swing, and whether the opening needs to accommodate trash bins, landscaping equipment, or larger items.
The contractor can also assess slopes, access limitations, nearby structures, and the condition of an existing fence. A hillside yard in Chula Vista or El Cajon may raise different layout questions than a compact backyard with a narrow side passage.
Discuss your preferred material during the estimate so the contractor can account for the design, dimensions, and installation requirements. Material-specific product pages can help you explore styles before that conversation.
Step 2. Choose the material and confirm the layout
The material and layout should work together. A gate needs enough room to open, and a fence running across a slope needs a plan for changes in ground level. Consider how the finished fence will meet your driveway, walkways, landscaping, and neighboring fences.
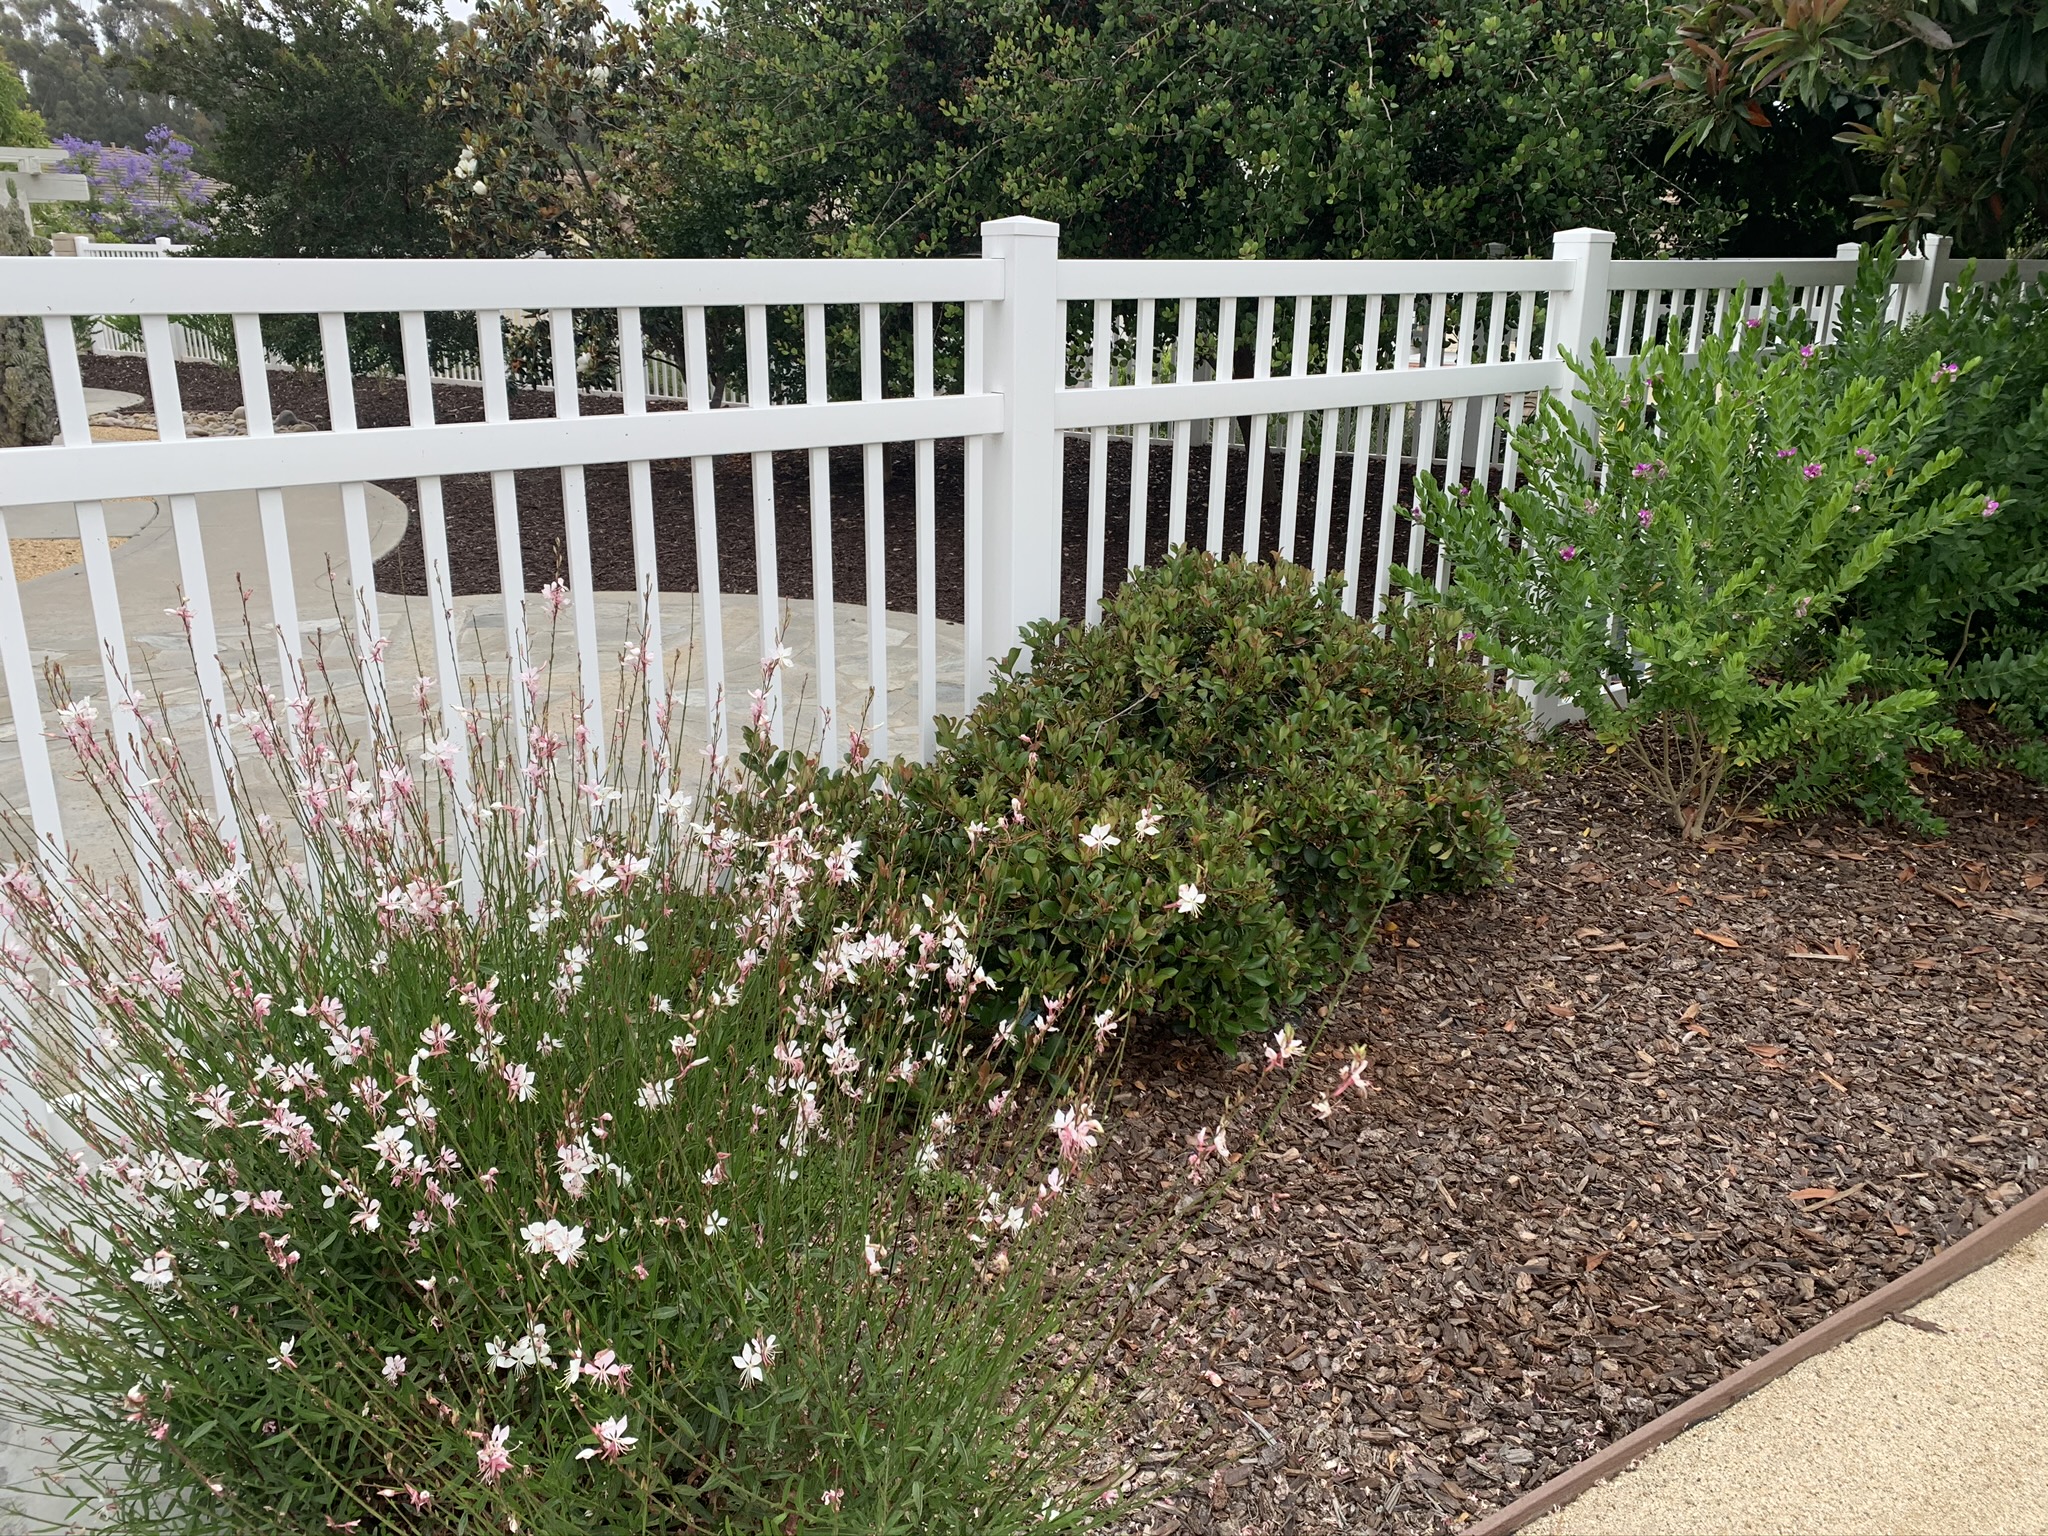
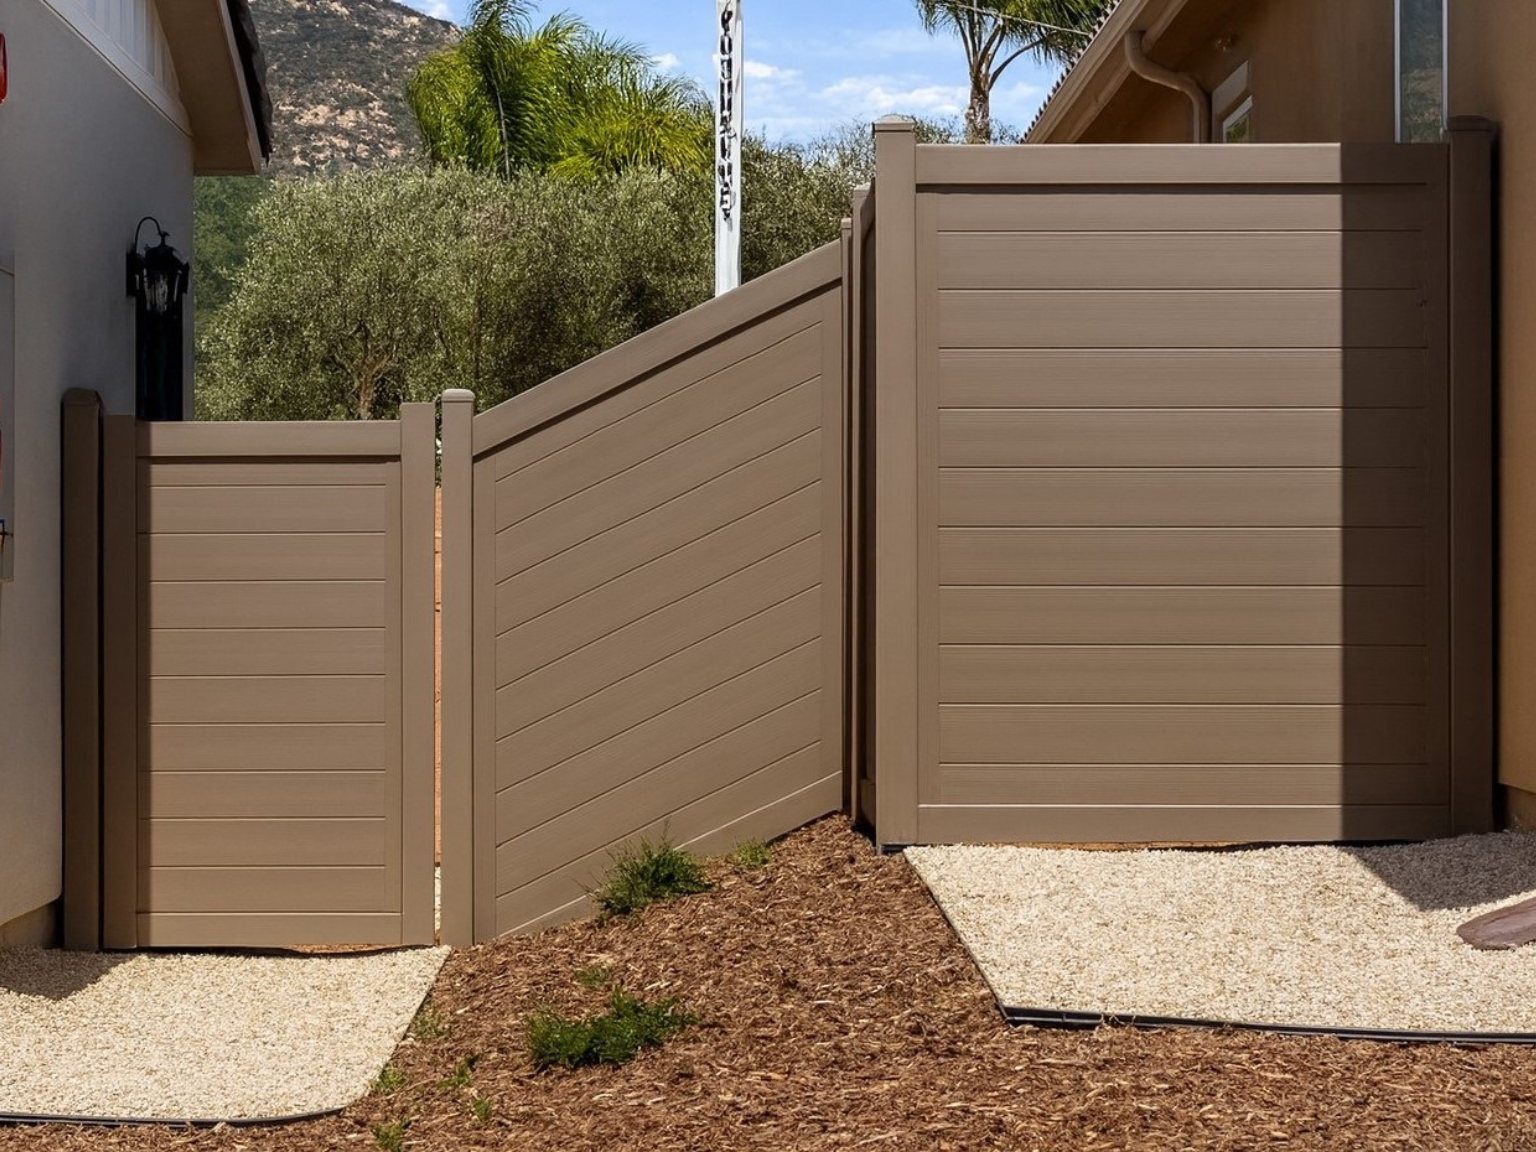
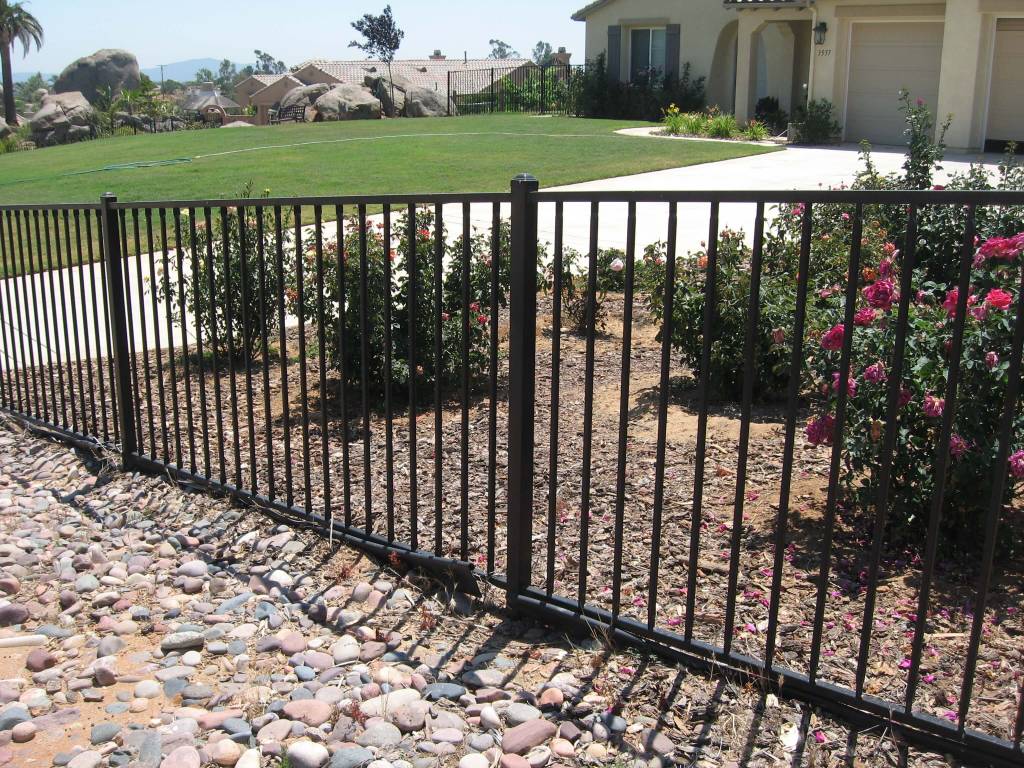
Alpine offers wood fencing, vinyl fencing, chain link fencing, and metal privacy fencing. Review each style, then discuss with a professional how your preferred design will fit your yard.
Step 3. Confirm boundaries and any required approvals
Agree on the fence location before construction begins. An existing fence should not be treated as proof of the legal property line. If the boundary is uncertain, resolve it with appropriate property records and, when needed, a licensed land surveyor before finalizing placement.
Check the requirements that apply to your address, including local fence rules and any HOA approval. Rules can depend on the jurisdiction, fence location, height, and other property conditions. A property within the City of San Diego may have different requirements from one in unincorporated San Diego County.
Ask who will confirm permit requirements and obtain any necessary approvals. A building-permit exemption does not remove applicable zoning restrictions. For more background, read this guide to fence height, style, and placement.
If the fence is shared with a neighbor, discuss the project and access arrangements early. Settle questions about placement and the agreed work before the old fence comes down.
Step 4. Plan for utilities and prepare your yard
Alpine Fence’s installation process includes contacting DigAlert before excavation. Utility marking helps identify underground facilities that could conflict with post holes. Keep markings and flags visible until the crew says they are no longer needed.
Also tell the installer about irrigation, landscape lighting, pool equipment lines, and other privately installed systems. DigAlert member utilities generally mark the facilities they own or maintain; private lines beyond those facilities may need separate locating.
Before installation day:
- Move furniture, planters, toys, and other movable items away from the work area.
- Confirm who will handle vegetation, roots, or obstacles along the fence route.
- Arrange access through gates and identify a suitable delivery or staging area.
- Keep children and pets away from the work area.
- Plan another secure space for pets while the yard is open.
- Share a phone number where you can be reached if a decision is needed.
Step 5. Remove the old fence and prepare the site
For a replacement project, the old fence needs to be removed before the new installation can proceed. Confirm the removal scope, including how existing posts and concrete will be addressed.
Expect some temporary disruption near the fence line. Ask how long the yard may be open and whether temporary containment is available if needed. Do not assume a temporary barrier is included.
Step 6. Set the posts and build the fence
The crew lays out post locations and installs the supports appropriate to the fence system and site. Posts need to align with the planned fence route and gate openings. Ground conditions, existing concrete, and access can affect this stage.
Where concrete is used, the installation sequence must allow for the required setting time. Your installer should explain when the next stage can proceed and when the fence and gates can be used.
The remaining components are then installed according to the selected system. A wood fence may be assembled from rails and boards, while other designs use panels or different components. The exact sequence varies by material and site conditions.
Step 7. Install and adjust the gates
Gate placement deserves attention before the project is finished. Review the opening direction, usable width, and clearance above the ground. Consider everyday needs such as moving trash bins or lawn equipment through the opening.
During the walkthrough, open and close each gate and check that the latch engages properly. If the fence serves a pool area or another location with special safety requirements, discuss those requirements during planning so the design and hardware can be addressed from the start.
Step 8. Walk through the finished project
The process typically ends with a walkthrough, finishing touches, and debris removal. Review the agreed scope with the installer and point out anything that needs attention before sign-off.
Ask about care instructions, any remaining setting or finishing time, and the terms of applicable warranties. Confirm whether landscape repair, irrigation adjustments, staining, or painting are included or would be separate work.
How long does fence installation take?
There is no single timeline for every property. Separate the time spent planning and scheduling from the time the crew is actively working at your home. Material availability, approvals, fence length, removal, terrain, access, and weather can all affect the schedule.
Ask for an estimated start date, the expected work sequence, and how schedule changes will be communicated. For a November project, discuss how rain or wet ground could affect excavation or site access.
Plan your installation with Alpine Fence Company
Alpine Fence Company has served the San Diego area for more than 40 years. If you are considering a residential fence project, request a free on-site estimate to discuss the layout, material, and preparation needed for your property.
Frequently asked questions about fence installation
What happens during a residential fence installation?
The main stages are an estimate, layout and material selection, boundary and approval checks, utility coordination, site preparation, post installation, fence and gate assembly, and a final walkthrough. The sequence may vary with the fence system and property.
How should I prepare my yard for fence installation?
Clear movable items from the work area, provide agreed access, and identify irrigation or other private underground lines. Arrange a secure place for pets and confirm who is responsible for vegetation removal before the crew arrives.
Do I need to be home while the fence is installed?
Confirm this with your installer. Even if you do not need to stay home throughout the work, you may need to provide access, approve layout details, or be available by phone. Arrange a time to review the completed project.
Will my yard be open during fence replacement?
It may be open between removal of the old fence and completion of the new one. Ask about the expected duration and any temporary barrier options. Keep pets in another secure area until the enclosure is complete and ready to use.
Does Alpine Fence remove the old fence?
Alpine Fence’s process includes old-fence removal and hauling. Confirm the details in your proposal, including existing posts, concrete, and any items outside the agreed fence-removal scope.
Do I need a permit to replace a fence in San Diego?
Requirements depend on your jurisdiction and project details. Confirm the rules for your address before work starts, even when replacing an existing fence. Also check applicable HOA requirements and local restrictions on height and placement.
Should underground utilities be marked before fence posts are installed?
Yes. Utility coordination should happen before excavation. Alpine Fence informs DigAlert in its installation process. Also tell the installer about private irrigation, electrical, and other lines, which may require separate locating.
Can a fence be installed on a sloped yard?
Yes, but the design must account for the slope and the selected material. Review the proposed layout and any gaps beneath the fence before approving the project, particularly if you need to contain a pet.
Can I use the gates immediately after installation?
Ask the installer when the gates are ready for normal use. Concrete setting time, hardware adjustments, or other finishing work may affect that timing. Follow the project-specific instructions rather than assuming the gates are ready as soon as they are hung.
What should I check during the final walkthrough?
Review the fence route, agreed style and height, gate operation, and cleanup. Ask about any remaining work, care instructions, and warranty terms. Raise questions while the installer can walk through the project with you.